How to Build a Web Service with AI — Even Without Coding Skills: Part 1
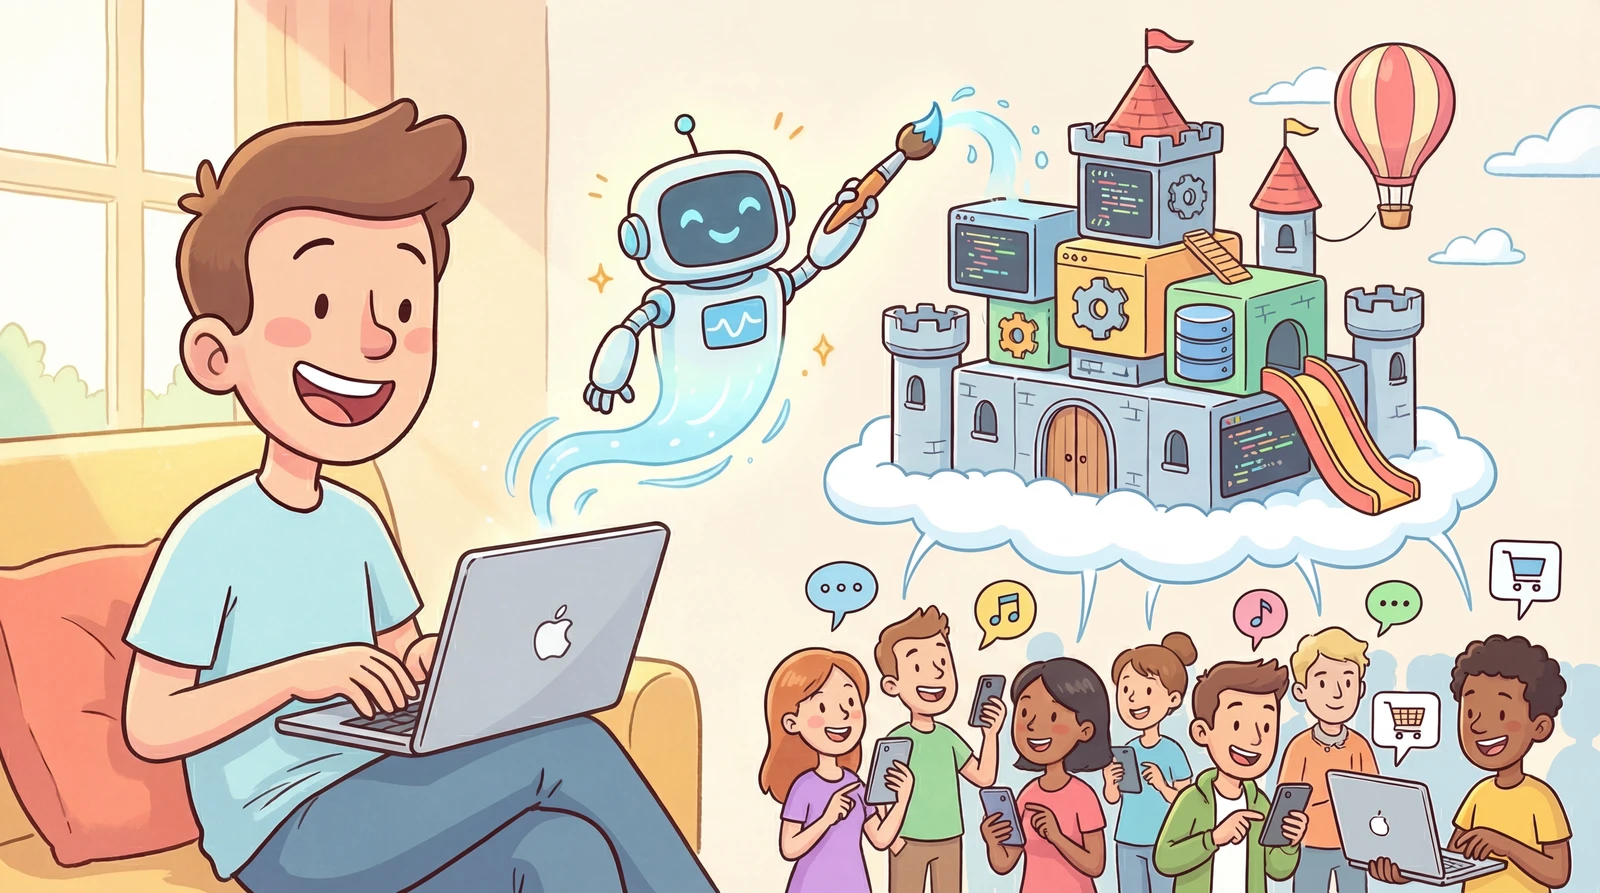
Have you ever heard the term “vibe coding”? The idea is that you can just talk to AI and it'll build a website or app for you in no time.
You might think, “Maybe I should give it a shot” — but then feel overwhelmed by how much there is to learn. At first it seems to go well, but if you hand everything over to AI without understanding what's happening, you'll eventually hit a wall.
This guide is for anyone who doesn't know how to code but wants to use AI to build their own service. We'll walk through the overall flow and the essential tools you need to know.
listContentsexpand_more
- 1. What Are AI Coding Tools?
- ① Cursor
- ② Claude Code
- ③ Google Antigravity
- 2. What You Need to Build the App You Want
- 2-1. The Core of AI Development Isn't Coding — It's Planning
- 2-2. What Every Good Plan Needs to Include
- 3. Two Secrets to Making AI Coding Tools Even Smarter
- ① MCP — Giving AI “Hands”
- ② Skill — Giving AI a “Manual”
- 4. Testing Your App
- ① Why Local Testing Matters
- ② How Does It Work?
- ③ What to Check When Testing
- 5. Publishing Your App to the Internet
- ① GitHub — Your Code Repository
- ② Vercel — The Easiest Way to Deploy
- ③ Cloudflare — Fast and Secure Deployment
- ④ Railway — When You Need More Complex Processing
- 6. Today's Summary
1. What Are AI Coding Tools?
AI coding tools let you describe what you want in plain language — instead of typing code yourself — and the AI writes the code for you.
They generally fall into two categories. Note that this isn't an official classification, and the boundaries between them are blurring as each service evolves rapidly.
| Type | Characteristics | Examples |
|---|---|---|
| Vibe Coding Tools | Best for simple services with a limited scope → Almost no coding knowledge required | Lovable, Bolt, Replit |
| AI Coding IDEs (Integrated Development Environments) | High flexibility, capable of building complex commercial services → Some coding knowledge required | Cursor, Claude Code, Google Antigravity |
Vibe coding tools are easy to get started with, but they can hit their limits once your desired features get complex. They're fine for personal use or hobby projects, but if you're planning a serious service, try AI coding IDEs like Cursor, Claude Code, or Google Antigravity.
① Cursor
This is arguably the “original” AI coding tool.
One standout advantage is that it supports a wide range of AI models — Gemini, Claude, GPT, Grok, and more. Since it's the most widely used, there's no shortage of learning resources available.
You can try it for free, but the features are very limited. To use it properly, you'll need at least the Pro plan ($20/month).
🌐 Official site: https://cursor.com
② Claude Code
This AI coding tool was built by Anthropic, the team behind Claude.
It's currently one of the most talked-about tools among developers. It's the priciest of the three and has a steeper learning curve, but the performance is outstanding.
It's available from the Pro plan ($20/month), but the Max 5x plan ($100/month) is recommended for serious use.
🌐 Official site: https://claude.com/product/claude-code
③ Google Antigravity
This is Google's newest AI coding tool.
It combines the best of both Cursor and Claude Code, with deep integration across Google services. It's currently regarded as the best bang for your buck, and since it's accessible through a Gemini subscription, it's especially recommended for those already using Google AI.
🌐 Official site: https://antigravity.google/
2. What You Need to Build the App You Want
Try typing into an AI coding tool the same way you'd normally chat with AI.
“Build me a simple app to manage a to-do list. It needs to have add, check off, and delete functions.”
A working app will be ready in just a few minutes. Pretty amazing, right?
But there's one crucial thing you need to understand first.
2-1. The Core of AI Development Isn't Coding — It's Planning
Even the best contractor can't build the house you want if you just say “build me a nice house” with no blueprint. How many floors, how many rooms, who's going to live there, what's the budget — all of that planning and design has to come first before the contractor can build anything worthwhile.
The same applies to AI coding.
AI doesn't know what you want on its own. And it tends to make assumptions and fill in the blanks wherever it hasn't been instructed.
That's why clear instructions — meaning solid planning — determine the quality of the result.
2-2. What Every Good Plan Needs to Include
To give AI good instructions, you first need to clearly define what you want to build.
The more detailed the plan, the better — but at a minimum, you need to cover these five things:
-
Who is the app for? — Target users
-
What features does it need? — Feature list
-
What should it feel like? — Design direction
-
What screens are needed? — Page structure
-
What technology is appropriate? — Tech stack selection based on the above
If you compile this into a document and share it with AI, it will produce far more accurate and consistent results.
Conversely, starting with “just build it” without this preparation leads AI to make guesses and fill things in arbitrarily. It may seem like it's going well at first, but you'll end up spending far more time on revisions later.
The more time and effort you invest in your planning document before coding, the shorter your actual development time will be.
Of course, you don't have to write this document entirely on your own from scratch.
Explain what you want to AI, let it generate a first draft, then read through it and refine it — even without coding knowledge, you can absolutely produce a strong planning document this way.
For item 5 in particular — “What technology is appropriate?” — it's best to complete items 1–4 first, then ask AI to recommend options.
3. Two Secrets to Making AI Coding Tools Even Smarter
AI coding tools are already powerful on their own, but there are two features that make them work even more intelligently.
① MCP — Giving AI “Hands”
AI coding tools write code well, but by default they only operate within the bounds of what they were trained on. The problem is that AI's knowledge isn't always up to date. The tools and technologies used in development are constantly being updated, and AI will sometimes generate errors because it's writing code based on older versions.
Connecting MCP (Model Context Protocol) lets AI directly access external services and the latest documentation, enabling it to write more accurate code. Think of it like a pipe connecting AI to the outside world.
There are many types of MCPs for different purposes — here are three of the most representative ones:
-
Context7 MCP — Lets AI read the latest official documentation for the technologies used in your project and write code based on that.
-
shadcn/ui MCP — AI directly references design guides for UI elements like buttons, input fields, and popups, so your design stays consistent across pages instead of varying unpredictably.
-
Notion MCP — Lets AI read pages directly from Notion or write new content. For example, if you store your planning documents in Notion, AI can reference them directly while coding — and even update them.
② Skill — Giving AI a “Manual”
Have you ever given AI the same type of task and gotten inconsistent results every time?
For example, you ask for a login page and it looks clean one day, then comes out in a completely different style the next. That's because AI doesn't remember what rules it used in previous conversations.
Skill solves exactly this problem. If you create a document that says “in this project, always follow these rules,” AI will work consistently to that standard every single time.
For example:
-
“New pages should always use Noto Sans font, with a cream-colored background.”
-
“When an error occurs, show the user an error message in this format.”
-
“Code files should always be organized according to this folder structure.”
In short, it's like giving AI a “work manual.” Just as people produce consistent results when they have a manual to follow, so does AI.
For more on Skill, see this article:
Forget “Prompt Engineering” — Build Your Own Skills
4. Testing Your App
Once AI has generated the code, you need to check it on your own computer before making it public. This is called local environment testing.
① Why Local Testing Matters
-
If you discover errors after going live, users may already have had a bad experience and never come back.
-
Testing locally first lets you quickly cycle through fix → check → fix.
-
Deploying to the internet takes time, but local testing gives you instant feedback.
② How Does It Work?
Projects built with AI coding IDEs can usually be run with a single command in the terminal (the black screen where you type commands). You can also ask AI to “start the local server,” but for security reasons AI sometimes can't do this directly — so try asking AI to walk you through it.
npm run dev
Enter this command and your app will start running on your computer. Open a browser and go to an address like localhost:3000 to see it right away.
NOTE
What does npm run dev mean?
Simply put, it's the command to “turn on your app on your own computer.”
When you run it, your computer temporarily acts as a server and the app starts running.
Type localhost:3000 into your browser — just like a web address — and your app's screen will appear right there.
Keep in mind that this address only opens on your own computer and is invisible to others.
③ What to Check When Testing
At first it can feel overwhelming — “where do I even start?”
Just follow this checklist in order:
-
Do all pages load properly?
-
Do buttons, forms, and links work correctly?
-
Is data saved and retrieved properly?
-
Does the app handle invalid inputs without crashing?
-
Does the layout hold up on mobile screens?
-
Are images and icons displaying correctly?
-
Does the back button behave as expected?
-
Is the page load speed acceptable?
-
Are fonts consistent across all pages?
-
Are there any error messages showing?
WARNING
Don't panic when errors appear!
Just paste the error message from the screen — or a screenshot — and AI will find the cause and fix it for you.
5. Publishing Your App to the Internet
Apps built with AI coding tools initially only run on your own computer.
Deployment is the process of uploading your app to the internet so anyone can access it.
There are many services that make deployment easy — let's look at the most popular ones.
① GitHub — Your Code Repository
This is where you store and manage the code you've created. Just as Google Drive stores documents, GitHub stores code. Most of the deployment services below pull your code from GitHub and publish it to the internet, so creating a GitHub account and uploading your code is the first step.
-
🌐 Official site: https://github.com
-
💰 Cost: Free
-
💡 Note: AI coding IDEs support GitHub integration, so you can just tell AI “upload it to GitHub.”
② Vercel — The Easiest Way to Deploy
A service that turns your code into a live, publicly accessible website — no server setup required. It's simple to use, and tools like Bolt and Lovable often provide a one-click Vercel deploy button right inside their interfaces.
-
🌐 Official site: https://vercel.com
-
💰 Cost: Free plan is plenty for personal projects
-
💡 Note: Once connected to GitHub, it automatically re-deploys every time you update your code. Domain connection is also straightforward.
③ Cloudflare — Fast and Secure Deployment
It makes your site load quickly from anywhere in the world and offers a wide range of features, including robust security. It's trusted by enterprises of all sizes.
-
🌐 Official site: https://cloudflare.com
-
💰 Cost: Free plan covers the basics
-
💡 Note: With servers distributed globally, it's ideal when you want to serve users across multiple countries quickly.
④ Railway — When You Need More Complex Processing
A service for running a dedicated server when your app goes beyond simple page display and needs to store data or handle complex processing.
-
🌐 Official site: https://railway.app
-
💰 Cost: $5/month in free credits
-
💡 Note: Server deployment is simple and supports a wide variety of programming languages.
NOTE
GitHub is more than just a storage space.
Every time you save code, the change history is automatically recorded.
AI made a change and now something's broken? You can roll back to any previously saved point in GitHub at any time. Like a document's “version history,” you can always return to “when it was working” — and that's one of the biggest reasons to use GitHub.
Start with just the GitHub + Vercel combo — that's all you need. You can add Cloudflare or Railway later when your service gets more complex.
6. Today's Summary
In the AI era, what matters most is knowing what you want to build and being able to communicate it clearly to AI. Don't just hand everything over to AI because you're unsure — work through it one step at a time and learn as you go. The final call should always be yours.
Here's the full flow at a glance:
| Stage | What to Do | Tools to Use |
|---|---|---|
| Stage 1 · Idea What will you build? | Define your service idea concretely | Notes app, Notion |
| Stage 2 · Plan How will you build it? | Write a planning document with AI (target users, features, design, screens, tech) | ChatGPT, Gemini |
| Stage 3 · Develop How will you instruct AI? | Share the planning doc and give coding instructions + use MCP & Skill | Claude Code, Antigravity |
| Stage 4 · Test Is everything working? | Run through the checklist in your local environment, then instruct AI to fix issues | Web browser |
| Stage 5 · Deploy Ready to go live? | Push to GitHub and publish to the internet with Vercel | GitHub, Vercel |